Home Gym Checklist: What to Sort Out Before You Start
This article may contain affiliate links. If you make a purchase through these links, we may earn a small commission at no extra cost to you. This helps us keep creating free content.
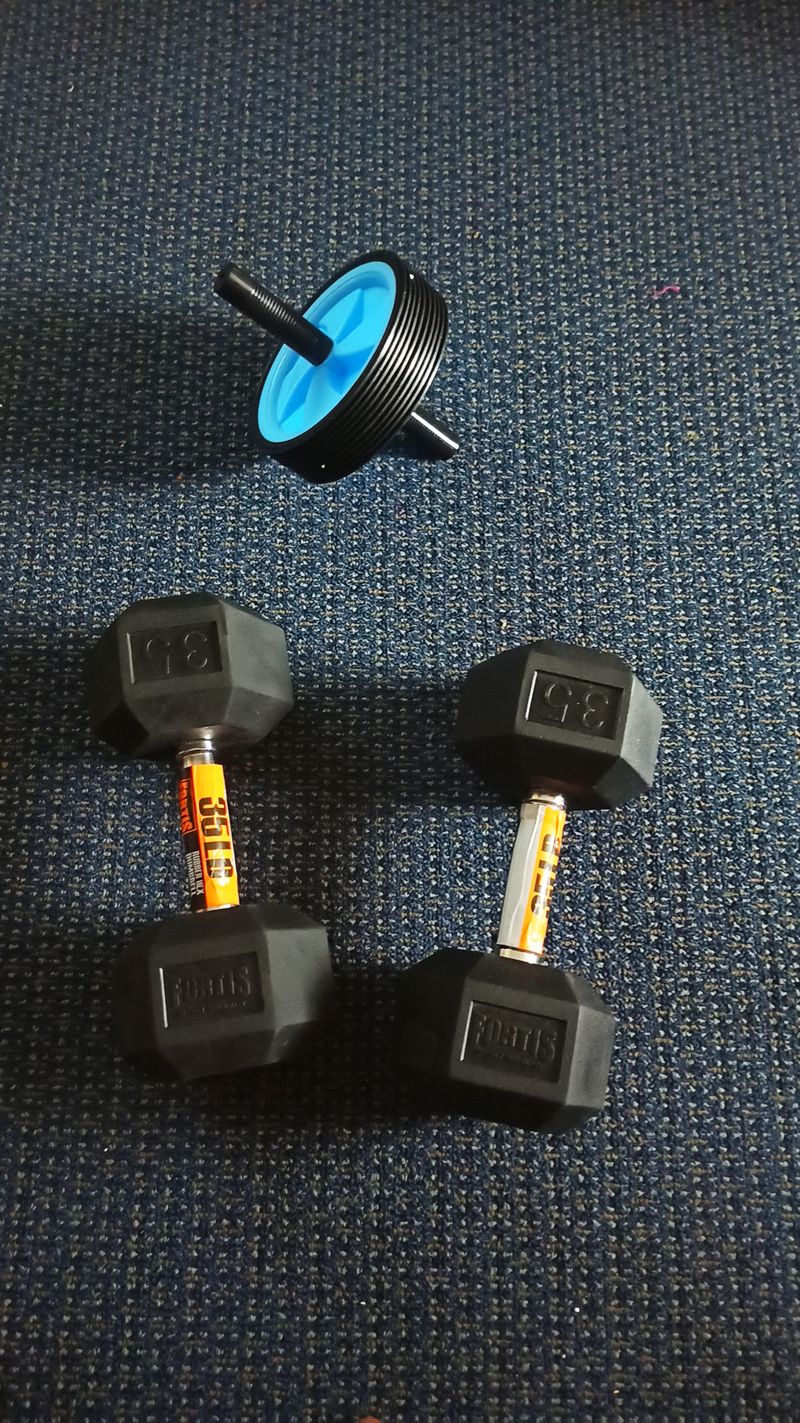
A home gym fails far more often from a skipped planning step than from the wrong dumbbell. Buying gear before you have measured the space, checked the floor, or set a budget is how garages fill with unused equipment. Work through the checks below in order and you will spend less, fit your space, and actually train instead of stockpiling.
Step 1: Measure and protect the space
Walk through these space checks before buying anything. The numbers decide what fits, and the floor decides whether you can lift safely above it.
- Measure floor area. A useful minimum is about 50 square feet for free weights, more if you want a rack or a treadmill. Mark the footprint with tape on the floor and stand in it to feel the real size.
- Check ceiling height. Stand and press your arms overhead, then add room for a barbell. Many overhead presses and jumps need at least 8 feet, and pull-up bars need more.
- Inspect the floor. A solid concrete or ground-floor slab handles dropped weights. An upstairs wooden floor may not. Plan rubber mats or interlocking tiles ($2-4 per square foot) for grip and protection.
- Find power and ventilation. Note outlets for any powered machine and confirm you can get airflow, because a sealed garage gets brutal in summer.
Step 2: Set a realistic budget and order
Fit Simplify Resistance Bands Set
Five resistance levels in a kit that fits in a drawer, gentle on the joints and ideal to start with.
As an Amazon Associate we earn from qualifying purchases.
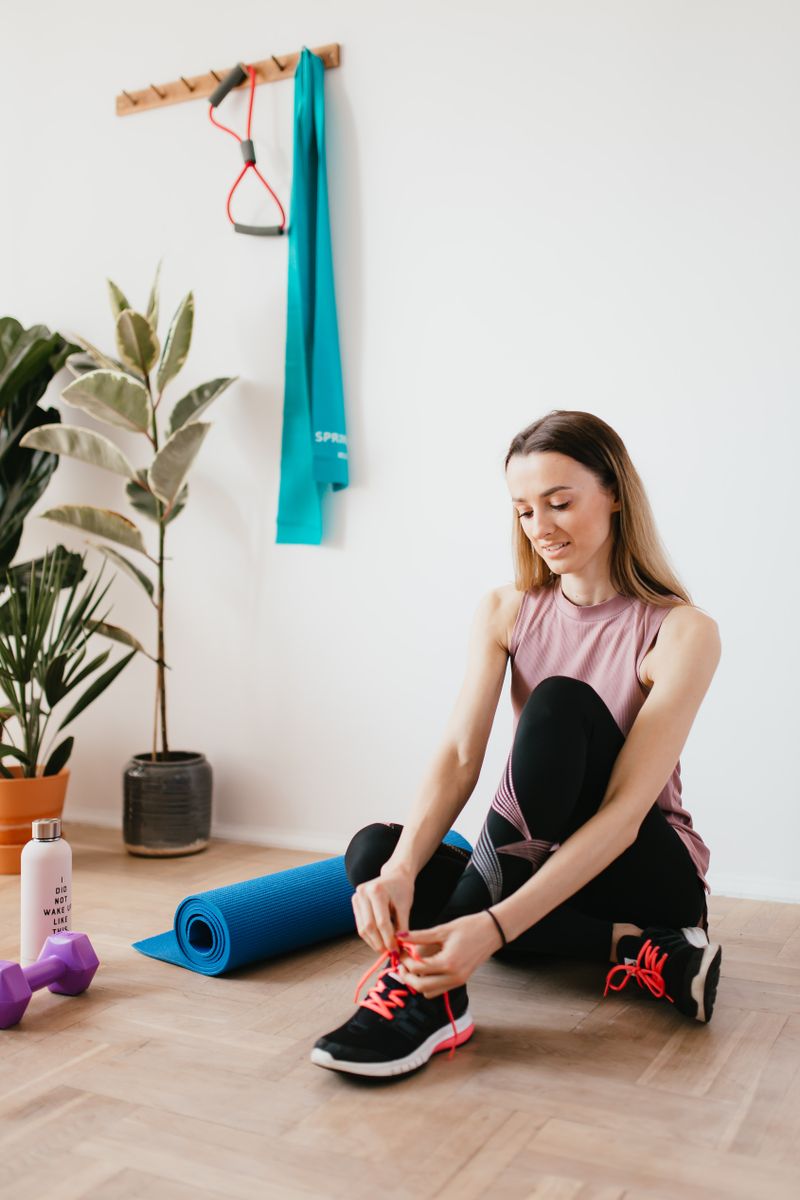
A complete beginner setup runs roughly $200-600, and spending more rarely buys more results at the start. The trap is buying everything at once, including specialized gear you do not yet know you want. Spend in the order that the table below suggests, which front-loads the items you will use every single session.
| Priority | Item | Rough US price | Why first |
|---|---|---|---|
| 1 | Flooring / mats | $50-150 | Protects floor and joints from day one |
| 2 | Adjustable dumbbells | $80-300 | Covers most exercises in little space |
| 3 | Adjustable bench | $80-200 | Unlocks presses, rows, step-ups |
| 4 | Resistance bands | $15-30 | Warm-ups, assistance, travel |
| 5 | Later: rack or cardio | varies | Add once you know your routine |
Hold back roughly a quarter of your budget for a month. Once you have trained for a few weeks, you will know whether you want a pull-up bar, a kettlebell, or a cardio machine, and you can buy the right one instead of guessing.
Step 3: Pick equipment that fits your body and joints
Match gear to your starting strength and any joint considerations rather than to what advanced lifters use. Adjustable dumbbells that start light (some go down to 5 pounds per hand) suit beginners better than a fixed heavy set you cannot yet handle. If knees or shoulders are a concern, bands and lighter dumbbells let you build the pattern with almost no joint stress before adding load.
Foldability and storage decide what survives in a small space. A bench that folds flat and dumbbells that stack into one compact tower beat a sprawling setup you have to dismantle every time you need the room. For apartments, prioritize quiet, drop-free gear so a missed rep does not announce itself to the neighbors.
Step 4: Plan the routine before the first session
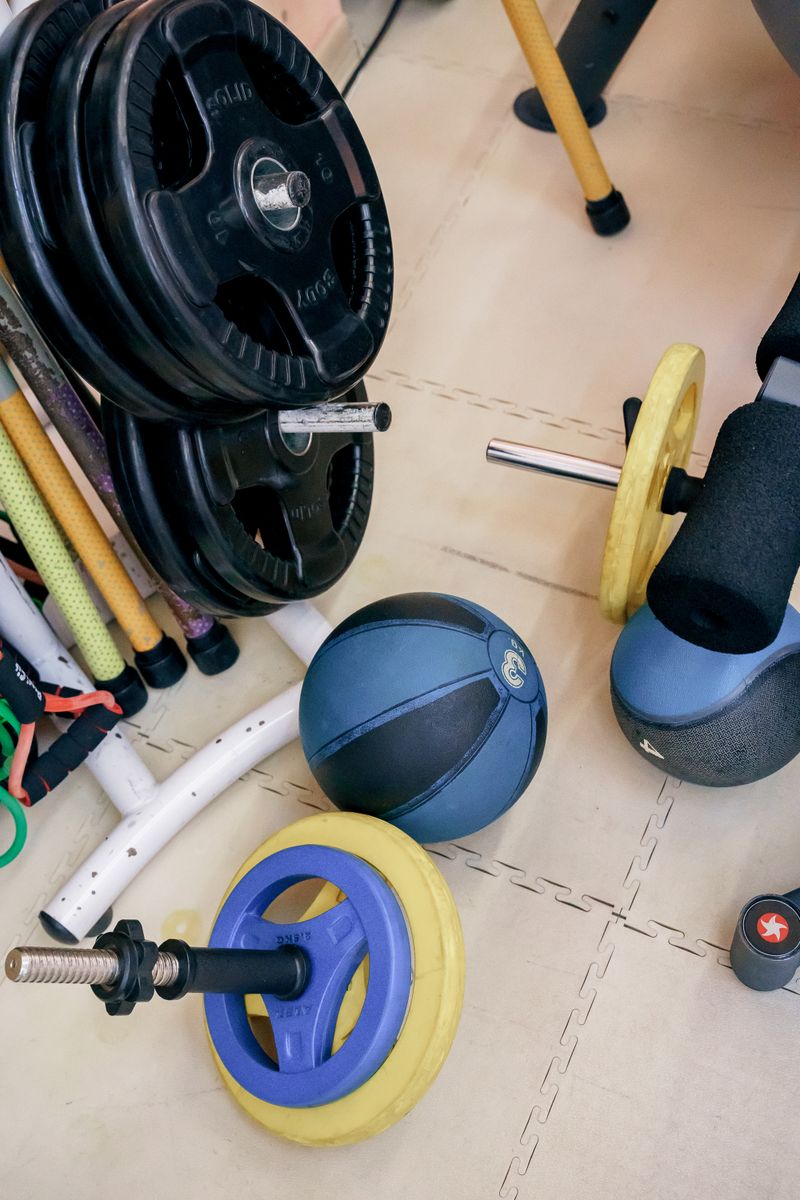
Knowing what you will do on day one stops the equipment from gathering dust. A simple three-day full-body plan covers a beginner well: a squat or lower-body move, a press, a row or pull, a hinge, and a core exercise each session. Write it down and tape it to the wall so decision fatigue never becomes an excuse to skip.
Schedule the sessions like appointments rather than leaving them to motivation. Three fixed slots a week, with rest days between, builds the habit faster than training whenever you feel like it. The gym being ten steps away only helps if you have already decided when you are using it.
Step 5: Sort safety before the first rep
A few safety items belong on the checklist alongside the equipment. If you plan to lift heavier later, a rack with safety arms lets you train alone without a spotter. Keep a phone in the room for filming form and for emergencies. Confirm your flooring gives grip, your footing is stable, and nothing on the floor will trip you mid-set.
Finally, give yourself permission to start small. Many people find that a bench, one pair of adjustable dumbbells, and a mat carry them through their entire first year of training. You can always add later, and the gear you buy after a month of real workouts is almost always smarter than the gear you buy on day one.
Skip these common first-buy mistakes
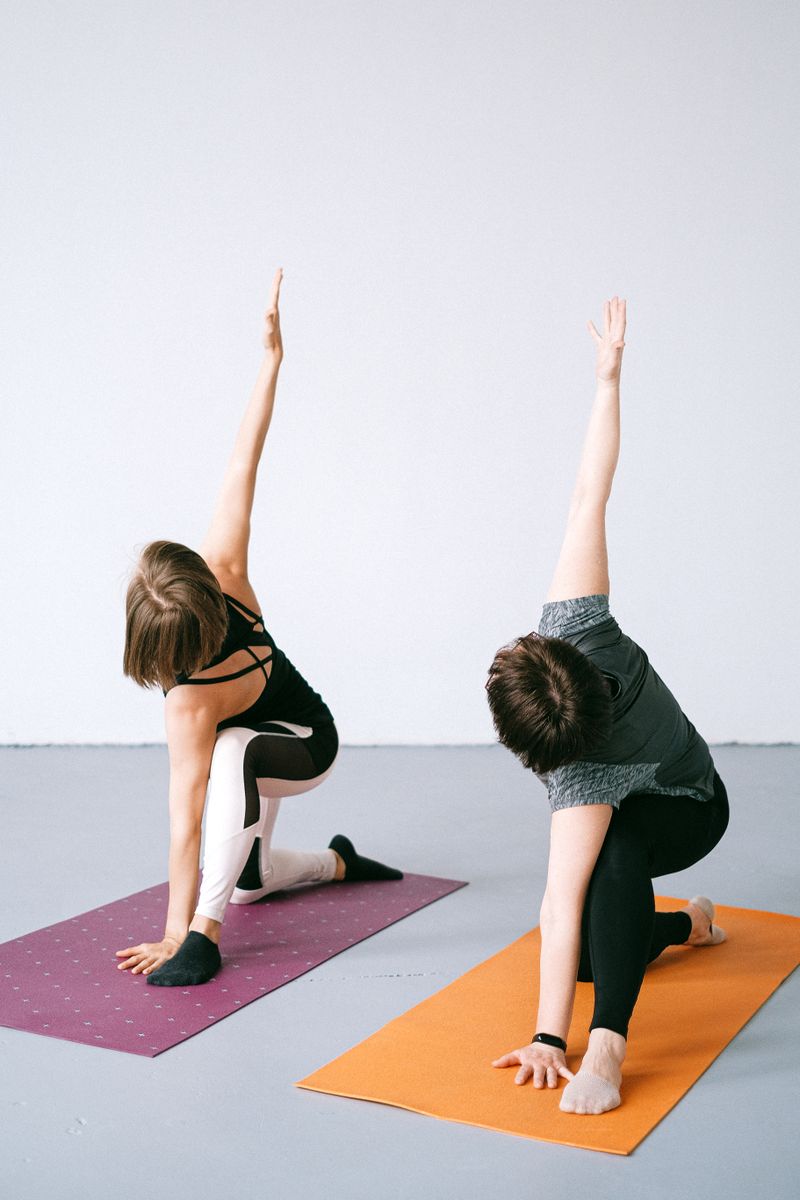
Most wasted home gym money goes to the same few items that look essential and turn out not to be. A power tower bought before you can do a single pull-up becomes a coat rack. A heavy fixed-weight set bought to feel serious sits unused because the smallest plate is still too much. A trendy cardio machine bought on impulse takes the floor space your strength work needed.
The pattern behind all of these is buying for the lifter you imagine being instead of the one you are this month. Start light, start small, and let your actual sessions tell you what to add. This is also where reading reviews and rough prices pays off, because the cheapest version of the right item beats the priciest version of the wrong one.
If you only remember one rule from this step, make it this: buy the cheapest item that lets you train well today, and upgrade only once you have outgrown it in practice. That single habit keeps your garage clear and your budget intact.
The one-page version
Boiled down, the order is simple and worth pinning up. Measure and protect the space first. Set a budget and resist buying everything at once. Choose gear that fits your body, your joints, and your storage. Write a three-day plan and book the slots. Sort safety before you load a bar. Do those five things in order and your home gym becomes the rare one that gets used hard for years instead of quietly turning into a clothes rack.
How much space do I really need? About 50 square feet covers free-weight training for one person. A rack or treadmill pushes that toward 80 to 100 square feet, but you can run a full strength routine in a single cleared corner.
Can I build a home gym in an apartment? Yes, with the right gear. Stick to adjustable dumbbells, bands, and a bench on thick mats, avoid dropped weights, and skip barbell deadlifts on upper floors. Quiet, drop-free training keeps the neighbors and your lease happy.
What is the single best first purchase? For most beginners it is a pair of adjustable dumbbells, after flooring. One pair spans dozens of exercises and replaces a rack of fixed weights in a fraction of the space.
Do I need a rack? Not at the start. A rack matters once you want to lift heavy barbell loads alone and need safety arms. Many people train productively for a year on dumbbells, a bench, and bands before adding one.
🛠️ Free tools for this topic
No sign-up. They do the calculating and checking for you.
Published by the Gym4Home editorial team. Published October 15, 2026.
Editorial responsibility: see Imprint.
Spotted an error or have something to add? corrections@gym4home.com
Home Gym Tips, Weekly
Equipment picks, workout ideas, and setup guides — for every space and every budget. No fluff, just useful.
🎁 Free bonus: The Home Gym Starter Checklist (PDF)
You might also like
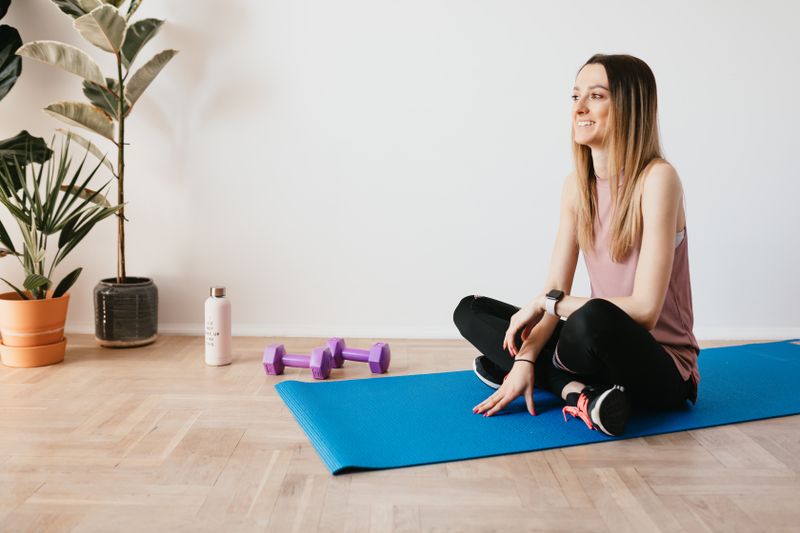
How to Start a Home Gym From Scratch (Step-by-Step for Beginners)
A step-by-step beginner guide to building a home gym from scratch: space, the five items to buy first, noise fixes, a starter routine, and smart upgrades.
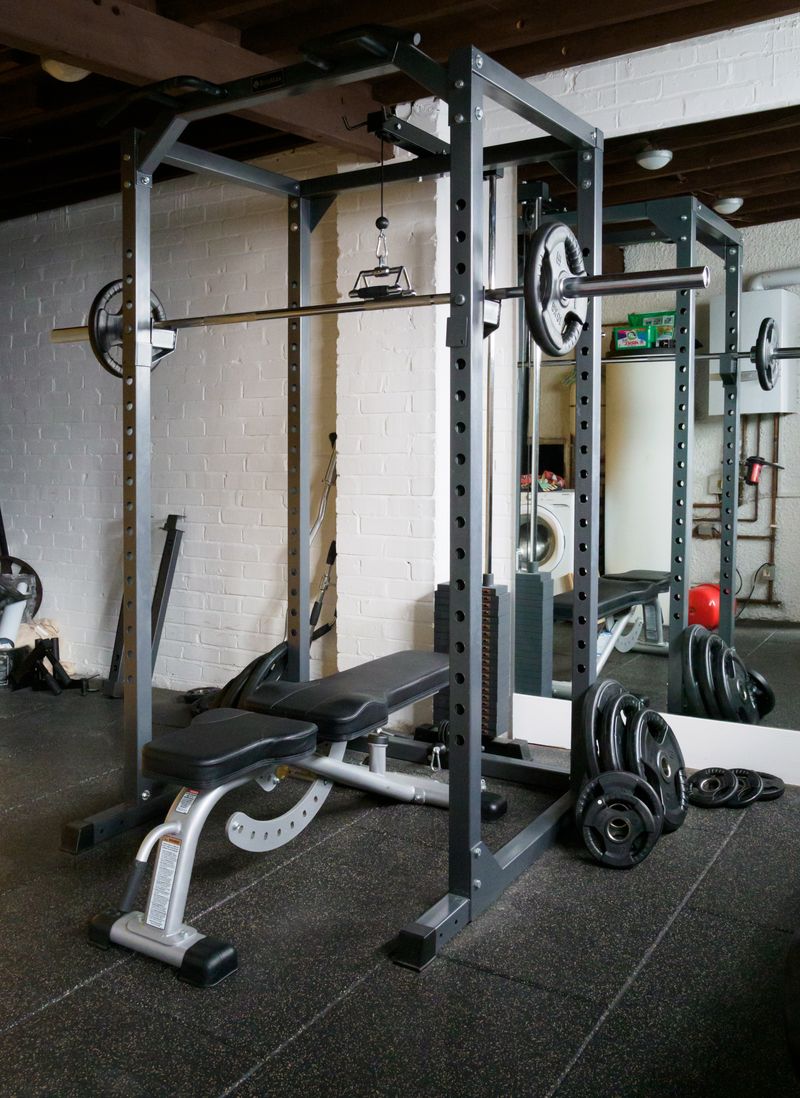
Soreness After a Workout: What Is Normal and What Isn't
How to tell normal post-workout muscle soreness (DOMS) from a real warning sign, plus what actually helps you recover.
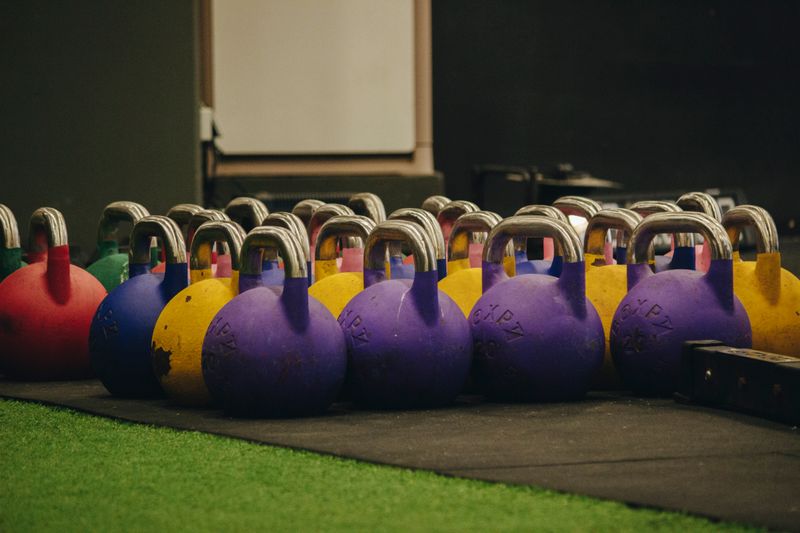
Home Gym Equipment: What to Buy First (and What to Skip)
A step-by-step buying order for home gym equipment, starting with adjustable dumbbells and a bench, with price ranges and the pieces most people buy too early.
📖 All articles on Gym4Home →
Browse our other articles