Home Gym Equipment: What to Buy First (and What to Skip)
This article may contain affiliate links. If you make a purchase through these links, we may earn a small commission at no extra cost to you. This helps us keep creating free content.
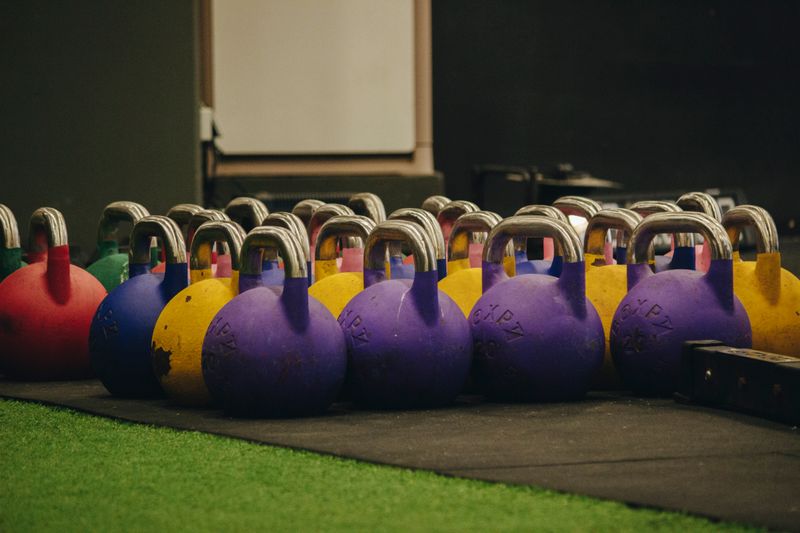
Adjustable dumbbells and a flat-incline bench cover roughly 80% of a strength routine for under $500, which is why they belong at the top of almost every home gym shopping list. The mistake most people make is buying in the wrong order: a $1,500 cable tower lands before there is even a bench to sit on. Buy in the sequence below and every dollar earns its keep, because each piece unlocks more exercises than the one before it.
The order matters more than the brand. A budget bench you actually use beats a premium rack gathering dust because you skipped the basics. This sequence assumes a general strength-and-conditioning goal in a spare room, garage bay, or apartment corner, and it scales whether your total budget is $300 or $3,000.
The buying sequence, step by step
Each tier below assumes the previous one is in place. Stop wherever your budget or space runs out, and you will still have a working gym at every stage rather than a half-finished one.
- Adjustable dumbbells ($150–400). One pair that dials from 5 to 50 lb per hand replaces a whole rack of fixed weights and a wall of storage. They drive presses, rows, squats, lunges, and curls. This is the single highest-value purchase in any home gym.
- Flat-incline bench ($120–300). A bench turns those dumbbells into incline presses, supported rows, step-ups, and hip thrusts. Get one rated for at least 600 lb total and with an incline setting, not a fixed flat slab.
- Exercise mat and resistance bands ($30–70). Cheap, light, and instantly useful for floor work, warm-ups, mobility, and assisted pull-ups. Bands also let you load movements your dumbbells are too light for.
- Pull-up bar ($25–60). A doorframe bar adds the one big pull your dumbbells cannot replicate. No drilling, two-minute install, and it folds away.
- Power rack or squat stand ($300–700). Only worth it once you commit to a barbell. A rack adds safety for heavy squats and presses and becomes the anchor for the rest of the room.
- Olympic barbell and plates ($250–600). The progression ceiling. Plates let you go heavier than adjustable dumbbells ever will, and the barbell unlocks deadlifts and back squats properly.
- Specialty pieces (kettlebell, cable machine, cardio). Buy these last and only to fill a specific gap you have actually hit, not because they look good in a setup photo.
Why dumbbells beat a machine for the first purchase
Fit Simplify Resistance Bands Set
Five resistance levels in a kit that fits in a drawer, gentle on the joints and ideal to start with.
* Affiliate link. We may earn a commission at no extra cost to you.
A pair of adjustable dumbbells covers more distinct exercises than any single machine on the market, and it does so in the footprint of a shoebox. You can train every major muscle group with them: chest, back, shoulders, arms, legs, and core. A leg-press machine, by contrast, trains one pattern and eats 15 square feet.
Dumbbells also forgive a small budget. The $150 entry-level adjustable pairs are limited and a bit clunky to change, but they work. Step up to the $300–400 range and the weight changes get faster and the build lasts longer. Either way, you are buying versatility per dollar that no machine matches at this stage.
What each budget tier actually buys you
The table below maps three common budgets to a sensible stopping point in the sequence. Notice that even the lowest tier delivers a complete full-body routine. The higher tiers add ceiling and convenience, not basic capability.
| Budget | What it covers | What you can train |
|---|---|---|
| $300–400 | Adjustable dumbbells + bench + mat | Full body, all major lifts up to ~50 lb/hand |
| $600–800 | Above + bands + pull-up bar + a kettlebell | Adds vertical pulls, conditioning, heavier swings |
| $1,500–2,500 | Above + rack + barbell + plates | Heavy squats, deadlifts, true progressive overload |
If you can only afford one tier this year, the $300–400 build is the highest-leverage money you will spend. Add the rack and barbell later when a heavier ceiling actually starts holding your training back, not before.
The pieces most people buy too early
Cardio machines top the regret list. A treadmill or rowing erg costs $500–1,500 and often becomes a clothes rack within months, because most people start strength training first and add cardio they could get from a $0 walk outside. Buy cardio equipment when you have a specific reason to, like bad-weather running or low-impact joint-friendly conditioning, not as a default.
Cable machines and functional trainers are the second common over-buy. At $700–2,000 they are excellent, but they only earn that price once your free-weight foundation is solid and you have hit real limits with it. A beginner with a cable tower and no bench has the sequence backwards.
Branded accessories are the quiet budget drain: logo gloves, fancy collars, vibrating recovery gadgets. None of them add a single exercise to your routine. Skip them until the load-bearing equipment is fully in place.
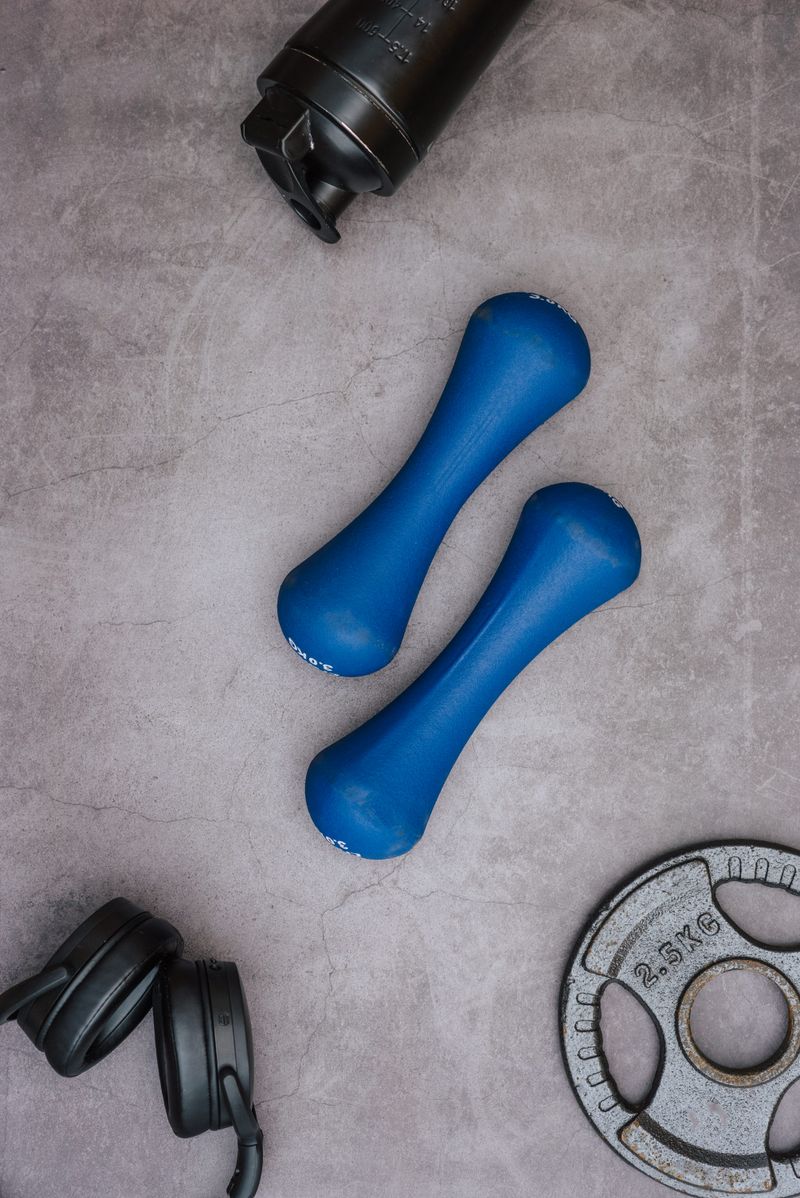
Matching the order to your space
Apartment dwellers should weight the sequence toward dumbbells, bands, and a foldable bench, then stop before the barbell tier. A rack plus dropped plates means noise complaints and floor damage, and most lease setups cannot absorb a 200 lb deadlift onto a third-floor slab. Adjustable dumbbells and a doorframe bar give you a near-complete gym that packs into a closet.
Garage and basement owners can run the full sequence. Here the rack and barbell make sense, because you have the floor strength, the ceiling height, and the freedom to drop weight. Lay down horse-stall mats early; they protect the slab and quiet the room for everyone in the house.
Whatever the space, resist buying out of order. The reader who follows this sequence ends up with a gym where every piece is used weekly. The one who buys by impulse ends up storing a cable machine behind a bench they never bought.
Floor, mats, and storage: the parts nobody budgets for
Flooring is the quiet line item that separates a usable home gym from a damaged room. Bare concrete cracks dropped plates, scratches floors, and amplifies every clank for the rest of the house. Budget $50–150 for rubber stall mats or interlocking gym tiles before the first dumbbell arrives. They protect the slab, cut noise, give you a stable surface for floor work, and stop a dropped weight from bouncing into a wall.
Storage matters more than it looks. A weight tree or a small vertical rack keeps plates, dumbbells, and bands off the floor, which both saves space and prevents the trip hazards that end home gyms in apartments. A $40–120 storage piece pays for itself the first time you avoid stepping on a plate in a dim garage. Plan storage into the layout from day one rather than letting equipment pile in a corner.
Small accessories round out the foundation without breaking the budget. A pair of lifting straps, a foam roller, and a cheap timer or app for rest periods together cost under $60 and remove friction from every session. None of them add an exercise, but they make the equipment you already own easier and safer to use, which is what keeps you training.
How to phase purchases over a year
Spreading the build across months beats buying everything at once for most people, because it lets your training reveal what you actually need. Start with the dumbbells, bench, and mat in month one, then live with that setup for six to eight weeks. By then you will know whether you reach for heavier pulls, more conditioning, or a barbell, and you can buy the next tier to fit your real habits instead of a guess.
Phasing also smooths the cost. A $1,500 gym split into three $500 quarters is far easier to justify than one large outlay, and it gives you time to catch sales on the bigger items like racks and barbells, which discount heavily around major shopping holidays. Patience here saves real money without slowing your training, because the early tiers already cover a full routine.
Start with adjustable dumbbells and a flat-incline bench, add a mat, bands, and a pull-up bar next, and only move to a rack and barbell once you are capping out on free weights. Buy used iron where you can, skip cardio machines and accessories until you have a concrete need, and match the upper tiers to whether your floor can take dropped weight.
Follow that order and a $400 start builds into a complete gym without a single wasted purchase. The goal is not the biggest pile of equipment; it is the smallest pile that trains your whole body, expanded only when your training actually demands more.
🛠️ Free tools for this topic
No sign-up. They do the calculating and checking for you.
Published by the Gym4Home editorial team. Published July 30, 2026.
Editorial responsibility: see Imprint.
Spotted an error or have something to add? corrections@gym4home.com
Home Gym Tips, Weekly
Equipment picks, workout ideas, and setup guides — for every space and every budget. No fluff, just useful.
🎁 Free bonus: The Home Gym Starter Checklist (PDF)
You might also like
First Equipment to Buy for a Home Gym (In the Right Order)
The right order to buy home gym equipment, starting with adjustable dumbbells, a bench, and a pull-up bar, with US prices for $300, $700, and $1,500 budgets.
What Kettlebell Weight to Start With (by Body Type and Goal)
The right first kettlebell is heavier than most beginners think. Starting weights by body type, how to test fit during the swing, prices, and a two-bell plan.
Best Rubber Flooring for a Home Gym (Tiles, Rolls and Mats Compared)
How to choose rubber flooring for a home gym: tiles, rolls and stall mats compared by price, thickness and apartment noise, with clear recommendations.
📖 All articles on Gym4Home →
Browse our other articles