Resistance Bands for Seniors: Beginner Workout Plan (No Gym Needed)
This article may contain affiliate links. If you make a purchase through these links, we may earn a small commission at no extra cost to you. This helps us keep creating free content.
Health note: This article is for general information only and is not a substitute for medical advice. Talk to your doctor before starting a new exercise programme, especially if you have an existing health condition or injury.
Resistance bands give older adults real strength gains with almost no impact on the joints. A full set costs about $20 to $40, weighs less than a paperback, and stores in a kitchen drawer. For anyone over 50 who wants to get stronger without lifting heavy metal, navigating a gym, or pounding their knees, bands are the most sensible starting point there is.
You will not need a single dumbbell, a rack, or a machine. A door, a sturdy chair, and one set of bands cover everything below. Read the safety section before you start, then work through the program at your own pace.
Why resistance bands suit older adults
Bands create resistance through stretch rather than gravity, which changes how they feel on aging joints. No heavy load crashes down if your grip slips. There is no momentum to wrench a shoulder, and the resistance is lowest exactly where your joints are most vulnerable, at the start of a movement. That combination makes bands forgiving in a way free weights are not, while still challenging the muscle enough to build strength.
They also fix the practical problems that stop older adults from training. A band set is cheap, silent, and tiny, so it works in an apartment without annoying neighbours or filling a closet. The resistance is infinitely adjustable: shorten your grip and it gets harder, lengthen it and it gets easier, so one set spans many strength levels. And because you can anchor a band low, high, or in a doorframe, you can train every major muscle group from a single piece of equipment.
Band types and resistance levels
Fit Simplify Resistance Bands Set
Five resistance levels in a kit that fits in a drawer, gentle on the joints.
* Affiliate link. We may earn a commission at no extra cost to you.
There are three common styles, and a good beginner set often includes the first two. Tube bands with handles feel most like familiar gym exercises and are easiest to grip with arthritic hands. Flat loop bands (sometimes called mini-bands or therapy bands) are ideal for leg and glute work. Long flat therapy bands, the kind physiotherapists use, are the most versatile but need a bit more technique to hold.
| Band type | Best for | Approx. US price | Notes |
|---|---|---|---|
| Tube bands with handles | Upper body, rows, presses | $20–35 (set) | Easy grip, gym-like feel |
| Flat loop / mini-bands | Legs, glutes, balance | $10–20 (set) | Great for lower body |
| Long flat therapy bands | Full body, rehab-style moves | $10–25 | Versatile, needs grip technique |
| Door anchor | Rows, presses, pulldowns | $8–15 | Adds many exercise angles |
Resistance is usually colour-coded, though the exact colours differ by brand, so check the label rather than trusting the colour alone. As a rough guide, a beginner set will run from very light (often yellow) to heavy (often black or blue). Buy a set with several resistances so you can progress without buying anything new. You simply step up a band when the current one feels easy.

| Typical level | Common colour | Who it suits |
|---|---|---|
| Extra light | Yellow | Very deconditioned, shoulder rehab |
| Light | Red / green | Most beginners, upper body |
| Medium | Blue | Progressing, larger muscles |
| Heavy | Black | Legs, strong pullers |
How to choose your set
If you buy one thing, make it a tube-band set with handles and a door anchor, in a range of light to medium resistances. That single purchase covers rows, presses, curls, and pulldowns, which is most of the upper-body work below. Add a pack of flat loop bands for $10 to $20 to handle the leg and glute exercises, and you have a complete kit for well under $50.
Look for bands with a fabric cover or reinforced ends if grip strength or hand comfort is a concern, because bare latex can dig into the palms. Check that handles are firmly attached, and favour brands that sell single replacement bands so you are not forced to buy a whole new set when one wears out. Avoid the temptation to buy only heavy bands. Starting too strong is the fastest route to sore joints and a quit.
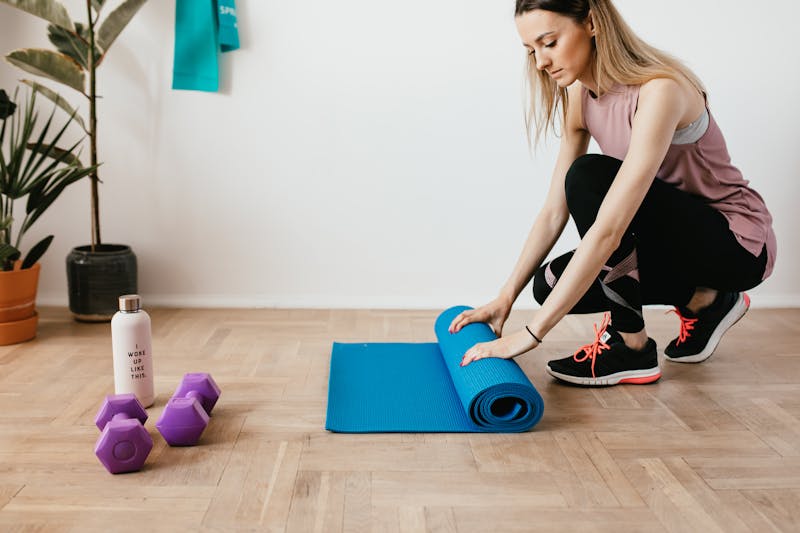
Safety and anchoring
Most band mishaps come from a band slipping its anchor or snapping back. When you use a door anchor, close the door fully, anchor on the hinge side or top where it cannot pull the door open toward you, and give it a firm test pull before you load it. Keep tension on the band throughout the movement and control the return. Letting a stretched band snap back fast is where shoulders and fingers get hurt.
Set up on a non-slip surface and keep a sturdy chair within reach for any standing exercise where balance matters. Stand on the band with feet shoulder-width when an exercise calls for it, so it cannot slide out from under you. If you have any doubt about a doorframe anchor holding, do the seated and standing-on-the-band versions instead, which remove the anchor risk entirely.
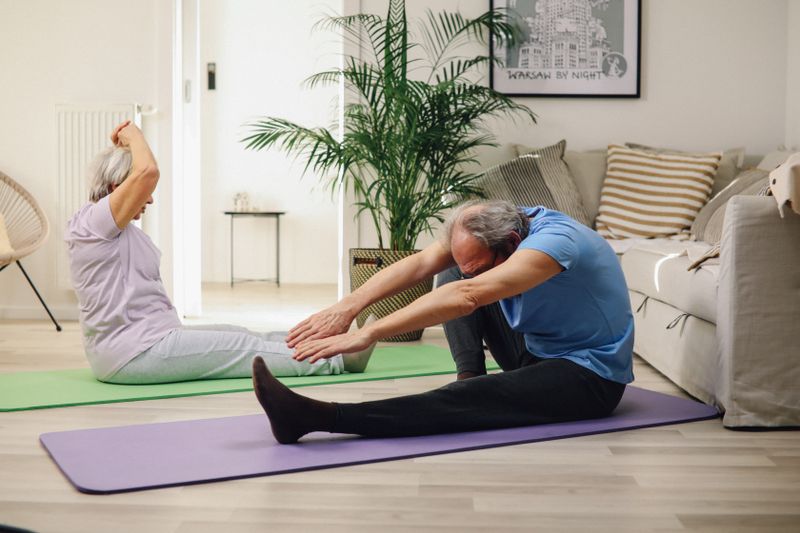
Warm-up and cool-down
Spend five minutes warming up before every session. Warm tissue stretches more safely and the work feels better. March in place for a minute, roll your shoulders backward and forward, make slow arm circles, do a few gentle sit-to-stands from a chair, and finish with some easy ankle and wrist circles. The goal is to feel slightly warm and loose, not winded.
Cool down for five minutes afterward while muscles are warm. Gentle static stretches held for 20 to 30 seconds work well: a calf stretch against a wall, a seated hamstring reach, a doorway chest stretch, and a gentle overhead side reach. Breathe slowly and never bounce or force a stretch. This habit reduces next-day stiffness and keeps the range of motion you are working to protect.
The four-week beginner program
The program runs three non-consecutive days a week, and Monday, Wednesday, and Friday work well, with each session covering upper body, lower body, core, and a balance finisher. Do the warm-up first and the cool-down last. Rest about 45 to 60 seconds between sets. In weeks one and two, do the lower sets and reps; in weeks three and four, build toward the higher end, then progress resistance as described further down.
| Exercise | Area | Wk 1–2 | Wk 3–4 | How to do it |
|---|---|---|---|---|
| Seated band row | Upper back | 2 x 10 | 3 x 12–15 | Anchor low or loop around feet; pull handles to ribs, squeeze shoulder blades, control the return. |
| Band chest press | Chest, arms | 2 x 10 | 3 x 12–15 | Anchor behind you at chest height; press handles forward to arms-length, then return slowly. |
| Band pull-apart | Upper back, posture | 2 x 12 | 3 x 15 | Hold band in front at shoulder height; pull hands apart to your chest, squeeze, return slow. |
| Banded biceps curl | Arms | 2 x 10 | 3 x 12–15 | Stand on band, palms up, curl handles toward shoulders, lower under control. |
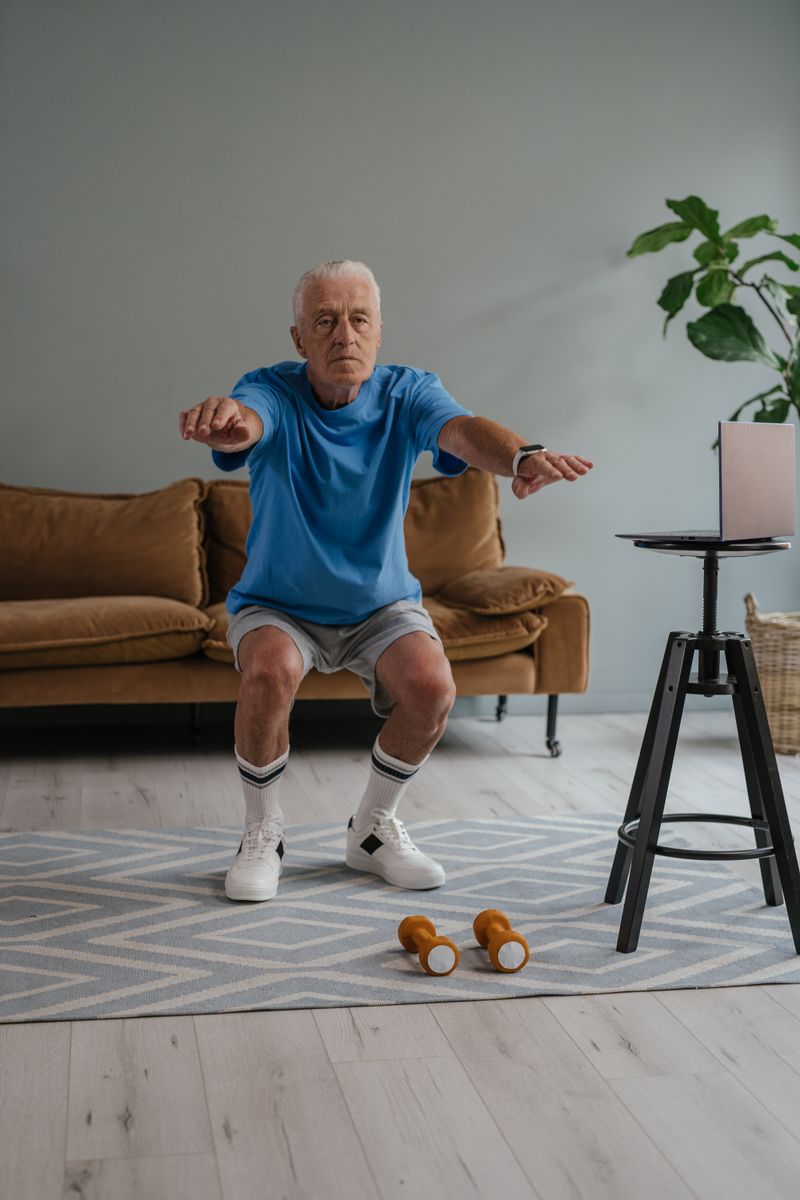
| Sit-to-stand | Legs, glutes | 2 x 8 | 3 x 12 | From a sturdy chair, stand without using hands; sit back down slowly. Add a loop band above knees to progress. |
| Banded leg press / squat hold | Legs | 2 x 10 | 3 x 12–15 | Loop band under feet, hold at shoulders; do shallow, controlled squats to a comfortable depth. |
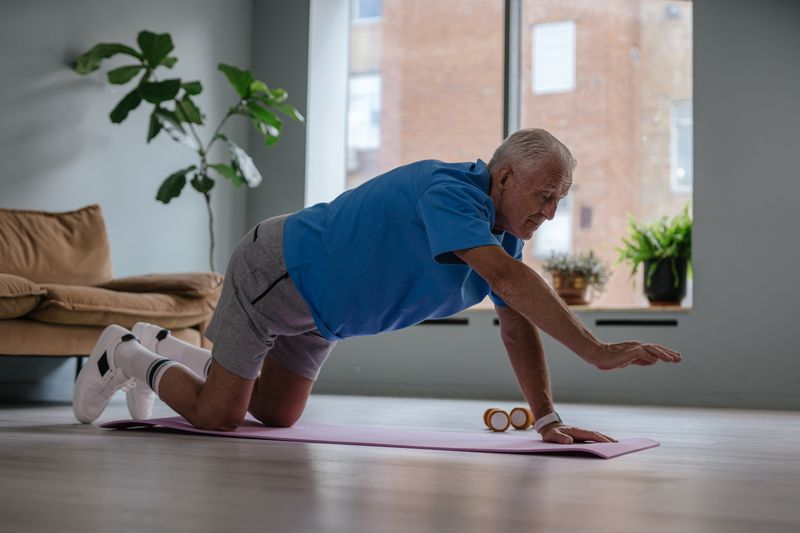
| Lateral band walk | Hips, balance | 2 x 8/side | 3 x 10/side | Loop band above knees; step sideways in a half-squat, keeping tension on the band. |
| Seated march (core) | Core | 2 x 12 | 3 x 16 | Sit tall, lift one knee then the other, slow and controlled; hands light on chair for support. |
| Standing balance hold | Balance | 2 x 15 sec | 3 x 30 sec | Near a chair, stand on one leg; progress from two-hand to fingertip to hands-free support. |
That is one full session. If the whole list feels like too much in the first week, split it: do the upper-body exercises one day and the lower-body, core, and balance exercises another, building to the full session as you adapt. There is no prize for rushing; the program works because you keep doing it.
How to progress your resistance
Progress in this order: first master the movement, then add reps toward the top of the range, then add a set, and only then increase resistance. When you can complete all sets at the week three-to-four rep target with clean form and the last rep is no longer hard, it is time to step up the band. Move to the next resistance and drop back to the lower rep count, then climb again over the following weeks.
With bands you have more options than just changing colour. You can shorten your grip on the band to increase tension, stand further from the anchor, or stack a lighter band onto your current one for a small bump. These fine adjustments are perfect for older adults because they let you progress in smaller steps than a jump to the next dumbbell would allow. Expect to spend two to four weeks at each level, because slow progress that sticks beats fast progress that injures.
Common form mistakes to avoid
The mistakes below are the ones that quietly rob bands of their benefit or risk a tweak. Fixing them costs nothing and makes every rep count for more. Good form with a lighter band beats sloppy form with a heavy one every time.
- Letting the band snap back. Control the return phase as much as the pull. The lowering half builds strength too, and a fast snap-back is where joints get jarred.
- Using a band that is too heavy. If your form breaks down or you cannot finish the reps, go lighter. There is no benefit to straining.
- Holding your breath. Exhale on the effort, inhale on the return. Breath-holding spikes blood pressure, which matters more after 50.
- Shrugging the shoulders on pulls. Keep shoulders down and back during rows and pull-aparts so the upper back does the work, not the neck.
- Rushing. Slow, controlled reps are safer and more effective than fast ones. Aim for two seconds out, two seconds back.
- Skipping the warm-up. Cold tissue is where strains happen. The five-minute warm-up is not optional.
Frequently asked questions
Can resistance bands really build strength, or are they just for rehab?
Bands build real strength. Research in older adults shows meaningful gains, and the resistance scales high enough to challenge most people for a long time. They started in rehab because they are safe and adjustable, but those same qualities make them an excellent general training tool.
What resistance band should a beginner over 50 start with?
Start with a set that includes light and medium resistances rather than a single heavy band. Light bands suit upper-body and shoulder work; medium suits legs and back. Having a range lets you match the band to the exercise and progress without buying more.
How often should I do this band workout?
Three non-consecutive days a week is a solid target, for example Monday, Wednesday, and Friday. That gives muscles a day to recover between sessions. On off days, gentle walking and a little balance practice complement the strength work nicely.
Are resistance bands safe if I have arthritis or joint pain?
Many people with joint issues find bands gentler than weights because the load is smooth and lightest at the vulnerable start of a movement. Choose handled tube bands for easier gripping, stay in comfortable ranges, and check with your doctor or physiotherapist if a specific joint consistently hurts.
How long do resistance bands last?
With good care, one to three years, though it varies with use and storage. Heat, sunlight, and stretching degrade latex over time. Inspect bands before each session, store them out of direct sun, and replace any that show nicks, cracks, or thinning before they fail.
Do I need a door anchor, and is it safe?
A door anchor is not essential but it unlocks many useful exercises like rows and presses at chest height. Used correctly, with the door fully closed, anchored where it cannot pull the door open toward you, and tested before loading, it is safe. If in doubt, use the seated and standing-on-the-band versions instead.
When will I see results from band training?
Many older adults feel steadier and more capable in everyday tasks within three to four weeks. Measurable strength gains usually appear over two to three months of consistent, progressive training. Keeping a log and nudging resistance up gradually is what turns weeks of effort into lasting results.
🛠️ Free tools for this topic
No sign-up. They do the calculating and checking for you.
Published by the Gym4Home editorial team. Published June 10, 2026.
Editorial responsibility: see Imprint.
Spotted an error or have something to add? corrections@gym4home.com
Home Gym Tips, Weekly
Equipment picks, workout ideas, and setup guides — for every space and every budget. No fluff, just useful.
🎁 Free bonus: The Home Gym Starter Checklist (PDF)
You might also like
A 30-Minute Dumbbell Workout for Seniors (Full-Body, Joint-Friendly)
A complete 30-minute full-body dumbbell workout for older adults, with a sets-and-reps table, step-by-step form for seven exercises, and safe progression tips.
Beginner Strength Workout: A Simple 3-Day Home Plan
A beginner-friendly 3-day full-body strength plan for home, with complete sets and reps using only a pair of dumbbells.
Best Resistance Bands for a Home Gym in 2026
The three resistance band types compared, with US prices, sizing without printed pounds, durability traps, and a complete band workout.
📖 All articles on Gym4Home →
Browse our other articles