How to Set Up a Home Gym in a Corner
This article may contain affiliate links. If you make a purchase through these links, we may earn a small commission at no extra cost to you. This helps us keep creating free content.
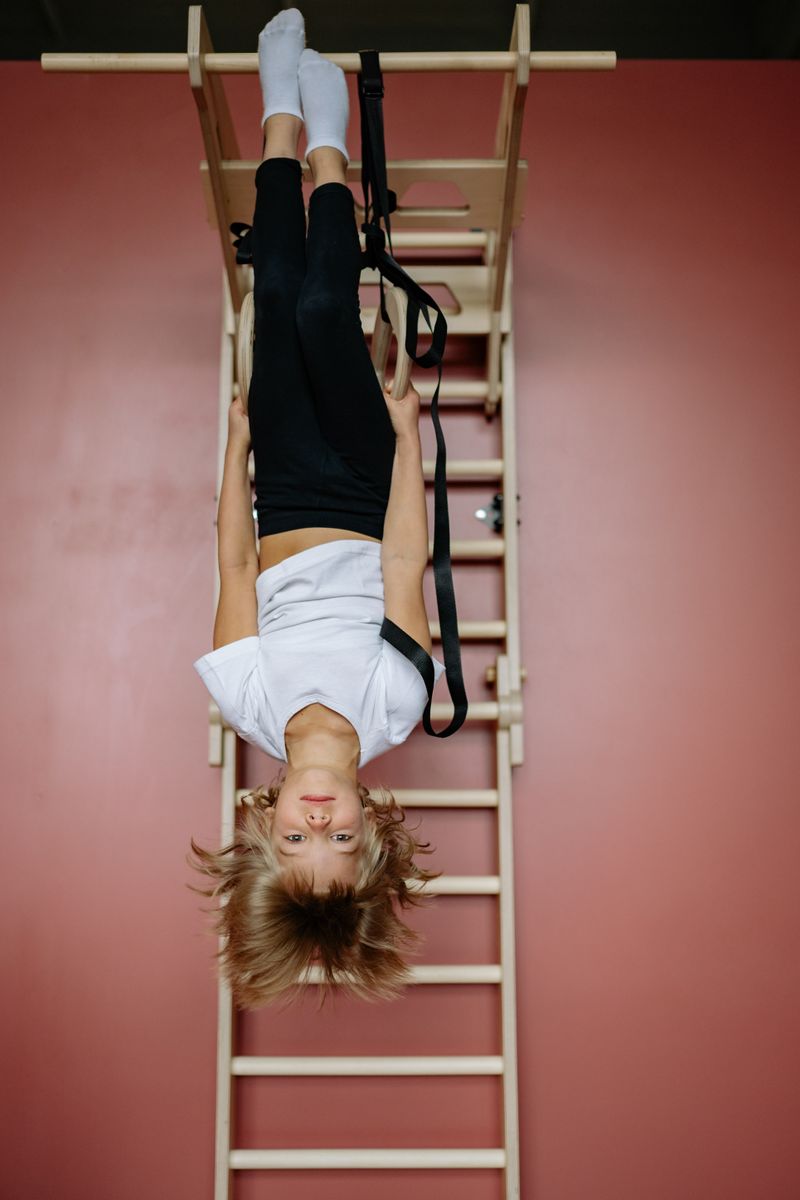
A single corner of about 25 to 40 square feet holds a complete strength setup if you build upward instead of outward. The corner is the most efficient spot in any room because two walls do double duty: one mounts equipment, the other anchors a folding bench or a band station, and the floor stays clear for the movements that need it.
The steps below turn an empty corner into a usable gym in a logical order, from measuring the space to the final equipment choices. Each step is a concrete action, and the whole build can be done in a weekend for somewhere between $200 and $600 depending on how much you already own.
Step 1: Measure and clear the corner
- Pick a corner with at least 6 feet of ceiling clearance over the floor, plus arm room overhead for presses.
- Measure a square roughly 5 by 5 feet out from the corner. That is your working footprint.
- Clear everything off both walls up to about 7 feet, since you will mount or lean equipment there.
- Check what is behind the drywall. Find the studs with a $15 stud finder before you plan anything that bolts to the wall.
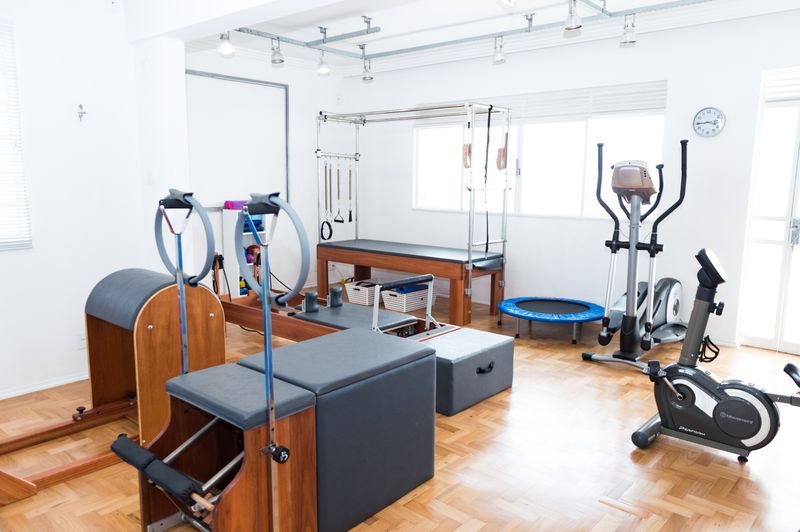
The corner location matters for noise as much as space. Interior corners over a load-bearing wall transmit less impact to neighbours than the middle of a suspended floor. If you are above someone, this single placement choice does more for noise than any mat.
Light matters too. A corner with a window on one of the two walls keeps the space from feeling like a closet, and natural light makes a small gym one you return to. If your only option is a windowless corner, a single bright wall lamp clipped above the bench changes how the space feels for about $20. Pick the corner you will actually walk into, not just the one with the most square footage.
Step 2: Protect the floor
Fit Simplify Resistance Bands Set
Five resistance levels in a kit that fits in a drawer, gentle on the joints and ideal to start with.
* Affiliate link. We may earn a commission at no extra cost to you.
Lay down flooring before any equipment arrives. Two interlocking rubber tiles or a pair of horse-stall mats cover the working square for $40 to $80 and protect both the floor below and your dumbbells when one gets set down hard. On carpet, the mat also gives a stable, level base that carpet alone cannot.
Step 3: Choose the anchor piece
One anchor piece defines the corner, and for most people it should be an adjustable bench. A flat-to-incline bench folds away or tucks against a wall and unlocks presses, rows, step-ups and split squats. Expect $90 to $200 for one that holds real weight without flexing.
If you want pulling and hanging work, a doorway pull-up bar in the nearest door frame costs about $30 and needs no drilling. A wall-mounted folding squat rack is the upgrade path: it bolts into the studs you found in step 1, folds to four inches deep, and turns the corner into a barbell station for $200 to $400. Pick the bench first and add the rack later if barbell work is the goal.
Buy the bench on quality rather than features. A wobbly bench is unsafe under a heavy press and ruins the corner, so look for a steel frame rated to at least 600 pounds total and a back pad that does not flex when you push into it. Foldable benches with a tri-fold pad are the most apartment-friendly because they store flat against the wall, but check the pad gap at the seat-to-back hinge: a wide gap digs into your spine on flat presses.
Step 4: Add the weights
Adjustable dumbbells are the right weight choice for a corner because they store in a footprint the size of a shoebox. A 50-pound-per-hand pair covers years of progress and slides under the bench between sessions. Budget $300 to $430 for dial-style, or $90 to $120 for a spin-collar set if money is tight.
A set of resistance bands ($20 to $40) rounds out the corner and adds movements dumbbells do poorly, like face pulls and lateral raises with constant tension. Anchor them to the pull-up bar or a wall hook. Between the dumbbells, the bench and bands you can train every major muscle group from one square of floor.
| Piece | Stored size | Approx US price | Unlocks |
|---|---|---|---|
| Adjustable bench | Folds flat to wall | $90-200 | Press, row, step-up, split squat |
| Adjustable dumbbells | Shoebox under bench | $90-430 | Full-body strength |
| Doorway pull-up bar | In door frame | $25-35 | Pull-ups, hanging |
| Resistance bands | Hook on wall | $20-40 | Constant-tension isolation |
| Folding wall squat rack | 4 inches deep folded | $200-400 | Barbell squat, press |
Step 5: Mount storage on the walls
Wall storage keeps the floor square clear, which is the entire point of using a corner. Two or three sturdy hooks or a short pegboard hold bands, a jump rope, a foam roller and a towel for under $30. Mount them into studs at shoulder height so the gear is grabbed and returned in one motion.
A narrow shelf above the bench stores a water bottle, a phone stand for following workouts, and a small first-aid item. Keeping these off the floor means the working square never collects clutter, and a tidy corner is one you actually train in rather than walk past.
Step 6: Set the layout for movement
Position the bench so it folds flat against one wall and pulls out to face open floor, giving room to lie back for presses without hitting the second wall. Keep the dumbbells on the floor at the foot of the bench so a weight change is one step, not a walk across the room.
Leave the center of the square completely clear. That open patch is where you squat, do floor work and swing a kettlebell, and it is the part of the corner that makes the whole thing feel like a gym rather than a storage nook. The build is finished when you can move from one exercise to the next without rearranging anything.
What it costs, and the FAQ
A functional corner gym lands between $200 and $600. The budget end is mats, a basic bench, a spin-collar dumbbell set and bands, which trains every muscle group for around $250. The middle adds dial dumbbells and a pull-up bar near $500, and that setup covers most people for years.
Spend on the bench and the dumbbells, since those carry the load and you use them every session. Save on storage and accessories, where a $20 set of hooks works as well as anything branded. Built this way, a corner most people ignore becomes the most-used 30 square feet in the house.
One thing worth adding once the corner works is a mirror on the open wall. A $40 full-length mirror lets you check form on squats and presses, which matters more when you train alone with no one to spot technique. It also makes the corner feel larger, so it earns its place twice over. Add it after the core kit, not before.
How small can the corner be? A 5-by-5-foot square is comfortable for dumbbell and bodyweight work. You can train in 4 by 4 if you keep the bench folded between exercises, but barbell work needs more like 6 by 6 to load and unload plates safely. Measure before buying a rack.
Will it damage a rental floor? Not if you put down rubber mats first. The mats protect the floor from dropped weights and bench feet, and they come up cleanly when you move. Avoid bolting anything into walls in a rental unless your lease allows it; the doorway pull-up bar and freestanding gear leave no marks.
Can I keep it quiet for neighbours? Yes, with three habits. Set weights down rather than dropping them, train on thick rubber over a load-bearing corner, and skip jumping or dropping barbells. Dumbbell and band work over a good mat is quiet enough for most apartment buildings during normal daytime hours.
What should I buy first? Start with mats and an adjustable bench, since the bench unlocks the most movements per dollar and the mats protect the floor from day one. Add dumbbells next, then a pull-up bar, then bands. Buying in that order means every stage is usable on its own, so you are training within a week even if you spread the spend over a couple of months. The bench plus a cheap dumbbell set already covers presses, rows, squats and step-ups, which is a full workout on its own before any upgrade arrives.
🛠️ Free tools for this topic
No sign-up. They do the calculating and checking for you.
Published by the Gym4Home editorial team. Published July 8, 2026.
Editorial responsibility: see Imprint.
Spotted an error or have something to add? corrections@gym4home.com
Home Gym Tips, Weekly
Equipment picks, workout ideas, and setup guides — for every space and every budget. No fluff, just useful.
🎁 Free bonus: The Home Gym Starter Checklist (PDF)
You might also like
Home Gym in 50 Square Feet: What Fits and What Doesn't
A practical plan for a complete strength setup in a 7-by-7-foot corner: what equipment fits, what to skip, apartment noise and floor tips, a worked layout, and US prices.
Home Gym in a Small Apartment: The Complete Setup Guide
A complete apartment home gym fits in 25 to 50 square feet. Here is the equipment that earns its footprint, the layout, the noise rules and a tiered starter kit.
Rubber Flooring for an Apartment Gym: What Actually Stops the Noise
The right rubber flooring is what keeps your apartment gym from generating noise complaints. A guide to thickness, layering, and real US costs.
📖 All articles on Gym4Home →
Browse our other articles